Let’s admit; there are times when we feel like specifying more RAM to a certain application. By allocating more RAM to a running process, one can speed up the video converting time, fix a web browser that’s lagging, speed up a program installation time, and more. Also Read: How To Increase RAM In Windows 10 (Use Pendrive As RAM)
Steps to Allocate More RAM to Specific Programs On Windows 10
On Windows 10, you can actually allocate more RAM to specific apps. For example, to speed up the video converting process, you would like to allocate some extra RAM to the video converting software. It’s also worth noting that few apps and games were meant to consume more RAM, and allocating more RAM to those specific programs will allow them to operate smoothly. In this article, we will share a detailed guide on how to allocate more RAM to specific apps on Windows 10 computers. Let’s check out.
1. Using Task Manager
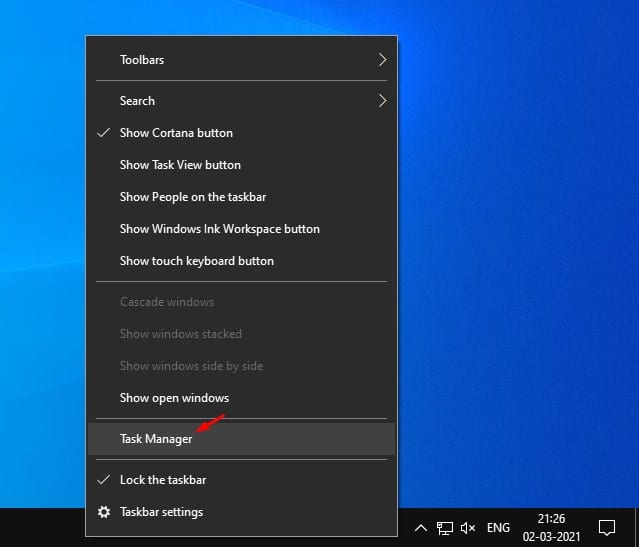
You can use the Windows 10 Task Manager to prioritize certain applications. If you want to allocate additional RAM to any specific application, you need to elevate its priority on the Task Manager. Follow some of the simple steps given below. Step 1. First of all, right-click on the taskbar and select ‘Task Manager’
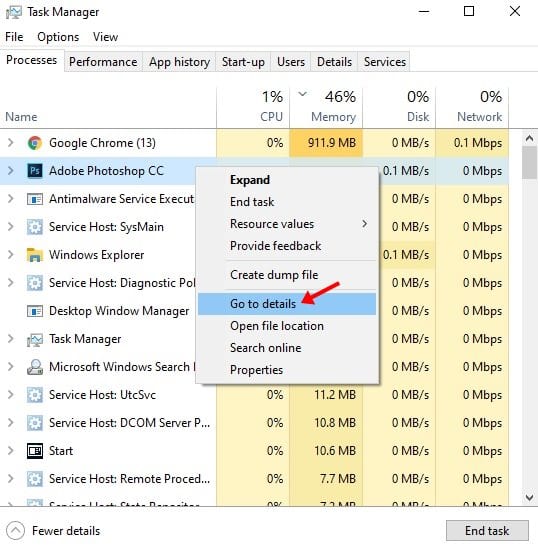
Step 2. The Task Manager will open. Right-click on the process whose priority you want to elevate and select the ‘Go to details’ option.
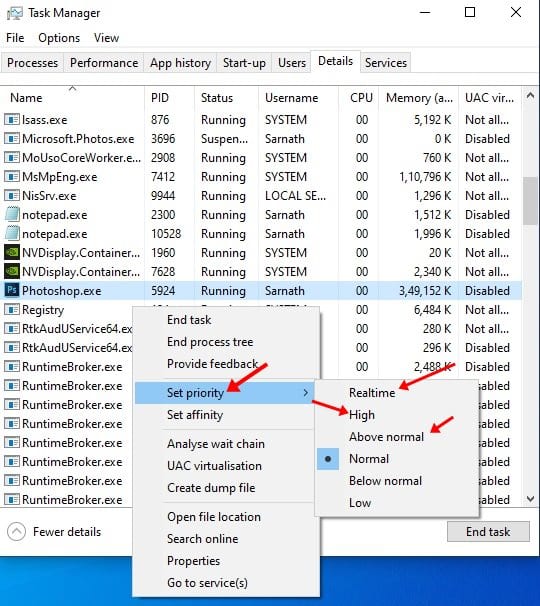
Step 3. On the Details page, right-click on the process, and select the option ‘Set Priority’. Step 4. You will find multiple options. To elevate the priority, select anything above normal. You can select Above Normal, High, or Realtime.
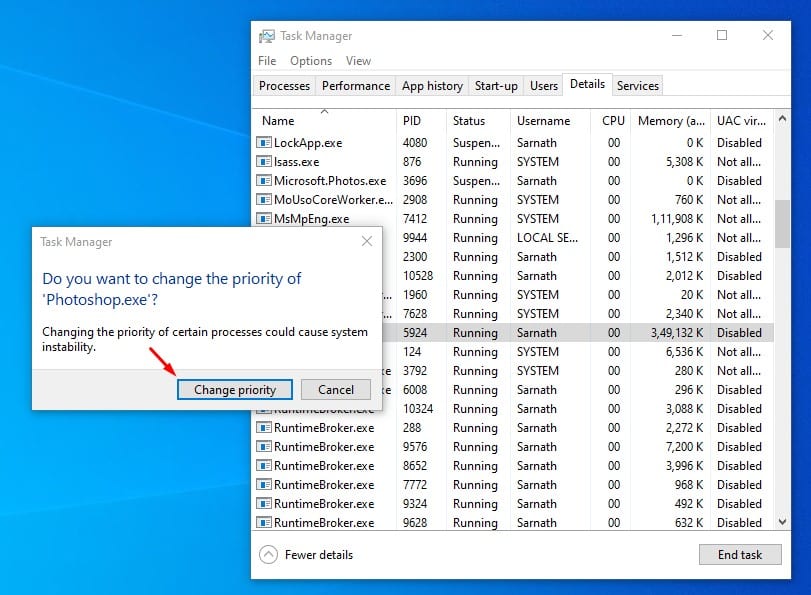
Step 5. On the Confirmation box, click on the ‘Change Priority’ option.
That’s it! You are done. This is how you can use Task Manager to allocate more RAM to specific applications in Windows 10.
2. Specify the Amount of RAM for each program
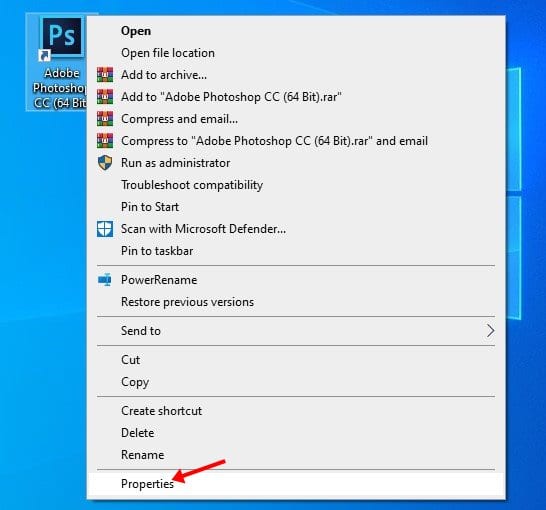
In this method, we are going to specify the amount of RAM for each program. The method works with every app, but to demonstrate, we have used Adobe Photoshop. Follow the steps given below. Step 1. First of all, right-click on the application shortcut and select the ‘Properties’
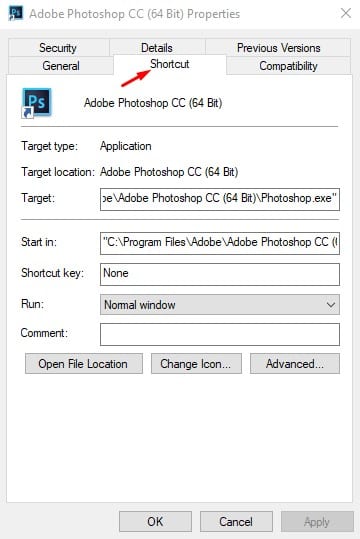
Step 2. Now move to the ‘Shortcut’ tab.
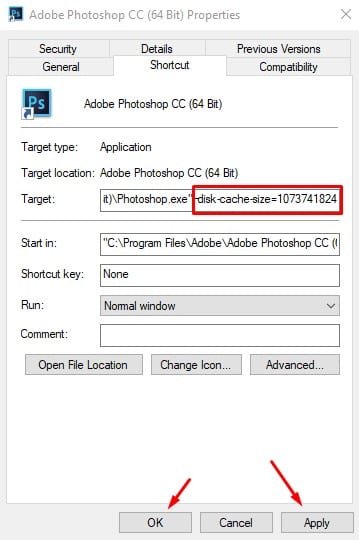
Step 3. On the Target field, copy & paste –disk-cache-size=1073741824 at the very end. Once done, click on the Ok.
Important: The above action would allocate 1073741824 bytes equivalent to 1GB of RAM to Adobe Photoshop. You can modify the size, but the RAM amount should be in bytes. Usually, Windows 10 is pretty good at RAM management. It knows pretty well how much memory to allocate to each app. Specifying too much RAM to any app can cause other apps to crash or trigger a few errors. So, this article is all about how to allocate more RAM to specific apps in Windows 10. I hope this article helped you! Please share it with your friends also. If you have any doubts related to this, let us know in the comment box below.
Δ