If your computer has less RAM, then you might face issues like system crashes, frequent lags, etc. Also, removable or networked drives can be frustratingly slow to browse. Windows 10 users who are using hard drives and have less RAM often have to wait for each new file thumbnail to load in the File Explorer. Although we have shared few tutorials on how to optimize Windows 10 for better performance, still it’s best to disable thumbnails completely. Disabling the thumbnails will speed up the file browsing in the File Explorer.
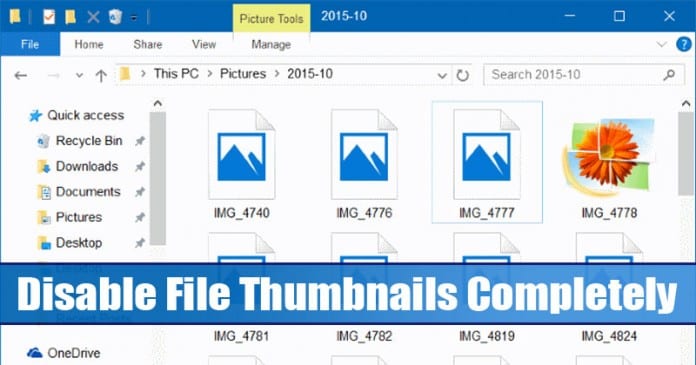
Disable File Thumbnails in Windows 10 Completely
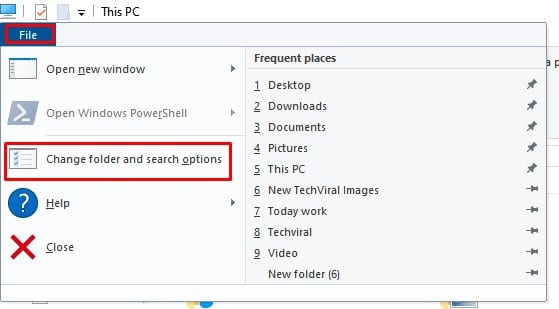
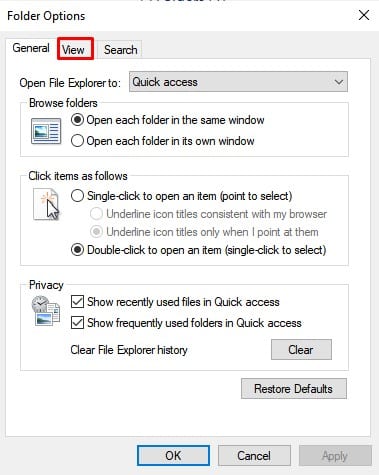
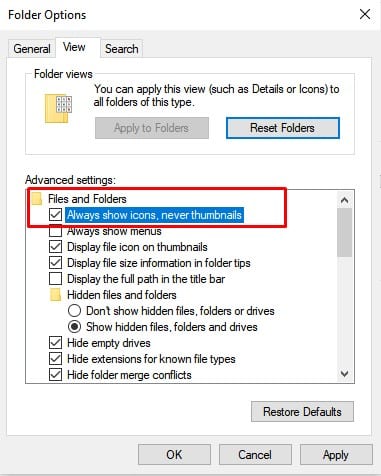
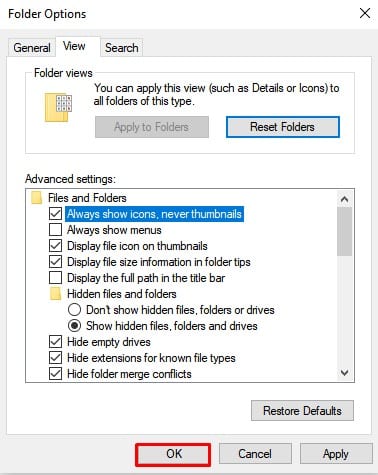
So, in this article, we have decided to share a working method to disable File thumbnails on Windows 10 operating system. Step 1. First of all, open File Explorer on your Windows 10. Step 2. Now click on the ‘File’ and select ‘Change folder and search options’ Step 3. Under the Folder options, you need to select the ‘View’ tab. Step 4. Under the View tab, you need to search for ‘Files and Folders’ Step 5. There you need to click the checkbox beside ‘Always show icons, never thumbnails’ Step 6. Once done, click on the ‘Ok’ button. That’s it! You are done. From now, you will see the standard icons instead of thumbnails. So, this article is all about how to disable File Thumbnails in Windows 10 completely. I hope this article helped you! Please share it with your friends also.
Δ