OneDrive is a cloud storage service that you can use to store any file. You can also use it to free up storage space on your device. While the files you upload on OneDrive are very secure, it still offers you a security feature called Personal Vault. Personal Vault on OneDrive adds an extra layer of security to make it more difficult for hackers to access your private files. You can use the Personal Vault feature of OneDrive for free, but you need to set it up first. Also read: How to Update Drivers on Windows 11
Set Up OneDrive Personal Vault On Windows 11
Hence, in this article, we will share a detailed guide on how to set up OneDrive Personal Vault Storage on a Windows computer. Let’s get started.
1) Set up OneDrive Personal Vault on Windows
The very first step includes setting up the OneDrive Personal vault for Windows. To set up the Personal vault, follow some of the simple steps we have shared below.
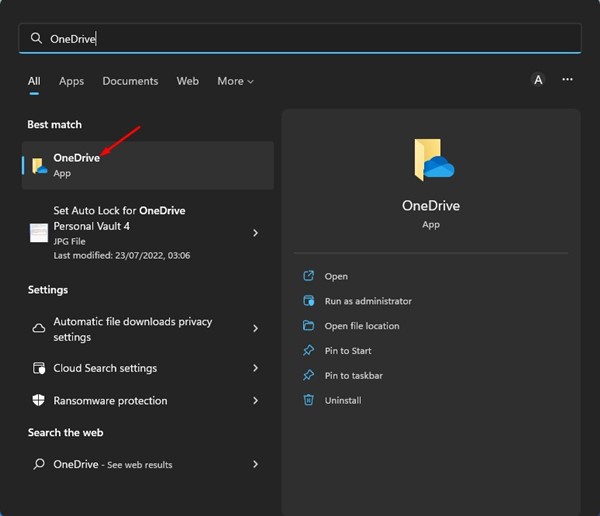
First, click on the Windows search and type in OneDrive. Next, open the OneDrive app from the list of matching results.
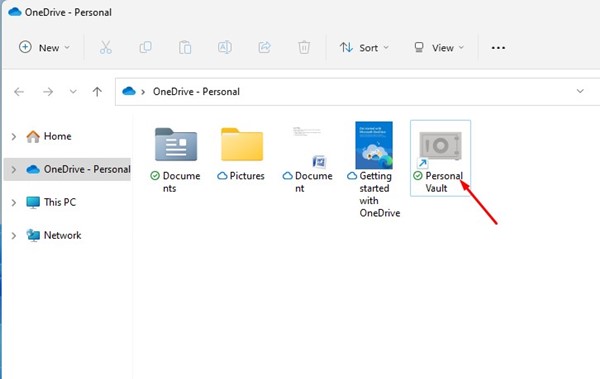
On the OneDrive – Personal, double click on the Personal Vault.
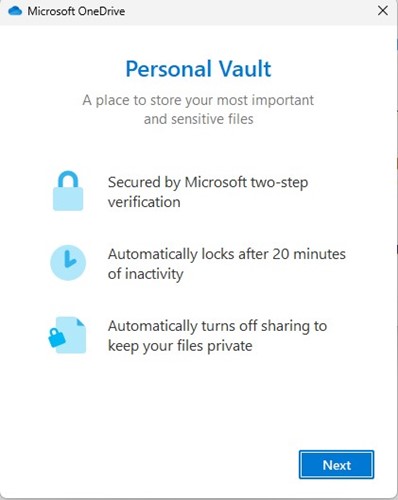
On the Personal Vault’s main screen, tap on the Next button.
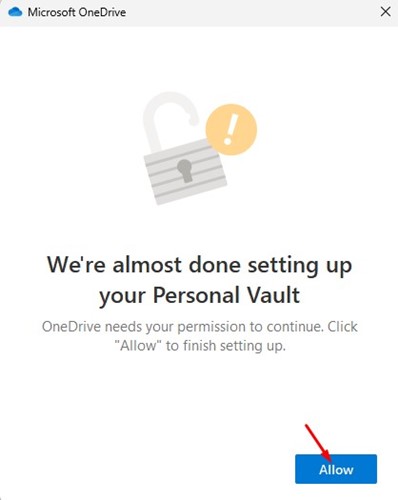
Now, the Personal Vault will ask you to grant permission. Click on the Allow button to continue.
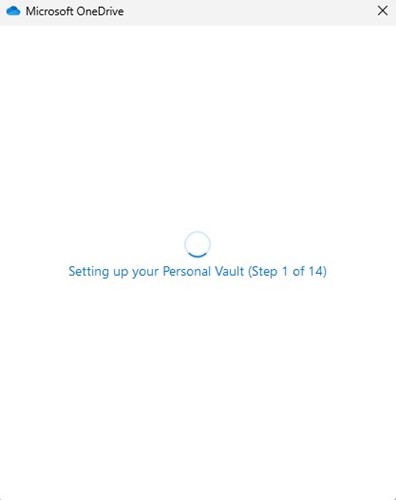
Now, wait for a few seconds until Microsoft OneDrive sets up Personal Vault for you.
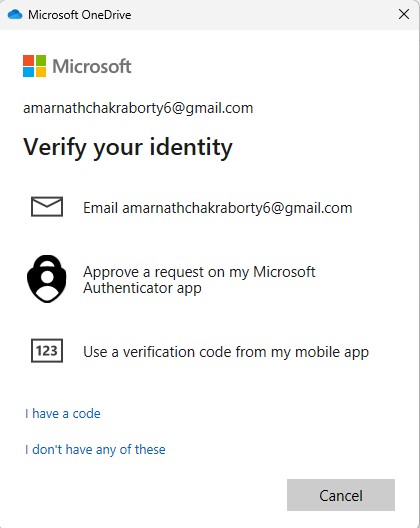
Now, OneDrive will ask you to verify your identity. Select the means to verify your identity.
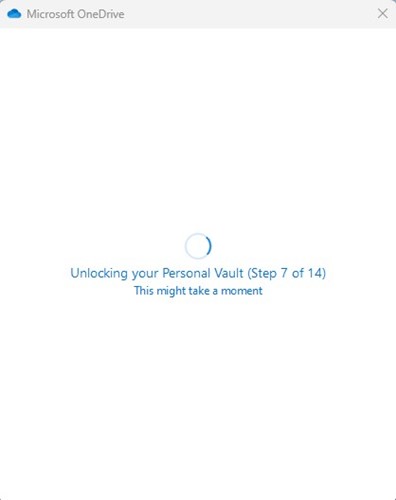
After verifying the identity, Microsoft OneDrive will unlock your vault.
That’s it! This is how you can set up Microsoft OneDrive Personal Vault on a Windows computer.
2) How to Move Files to OneDrive Personal Vault
Well, moving files on OneDrive Personal Vault is pretty straightforward. You must use the CTRL+C, and CTRL+V commands to move your files to the Personal Vault. You can store photos, videos, documents, and folders on OneDrive Personal Vault. Apart from the CTRL+C and CTRL+V commands, you can also drag and drop the files to the Personal Vault.
3) How to Lock the Personal Vault
If you often leave your PC unattended, it’s best to lock the Personal vault. OneDrive’s Personal Vault automatically gets locked when you restart your PC. However, if you don’t want to restart your computer, you must follow these steps to close Personal Vault without restarting.
First, click on the Windows search and type in OneDrive. Next, open the OneDrive app from the list of matching results.
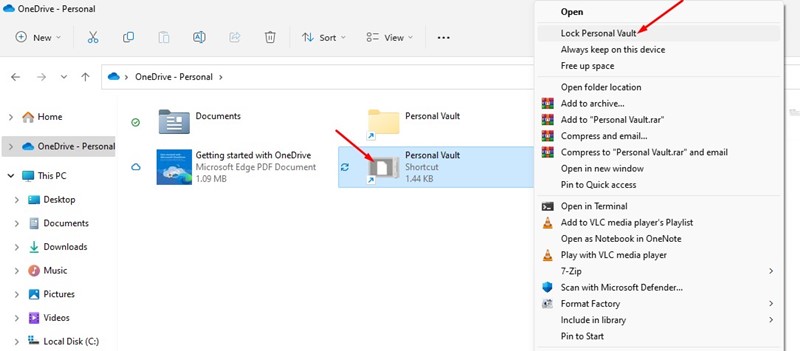
On the Microsoft OneDrive app, right-click on the Personal Vault and select Personal Lock Vault.
If you are using Windows 11, you must right-click on the Personal Vault > Show More Options > Lock Personal Vault.
That’s it! This is how you can lock OneDrive Personal vault on a Windows computer.
4) How to Set Auto Lock for OneDrive Personal Vault
If you don’t want to manually lock the Personal Vault on your computer, you can configure the OneDrive app to auto-lock Personal Vault after a few minutes. For that, follow some of the simple steps we have shared below.
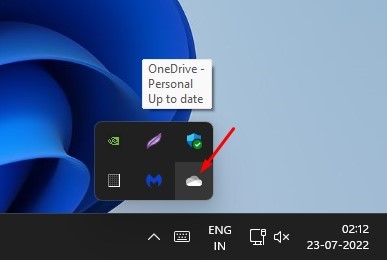
Click on your system tray and select the OneDrive icon.
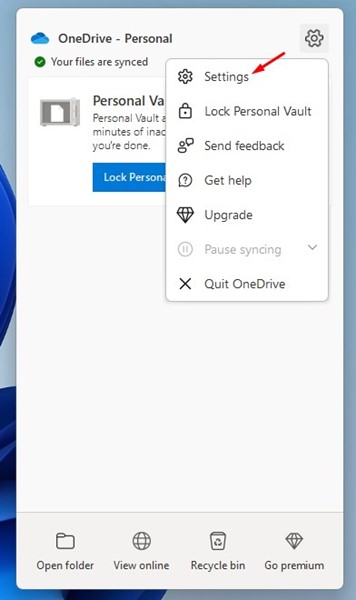
On the OneDrive app, click on the Settings gear icon at the top-right corner. From the options that appear, click on Settings.
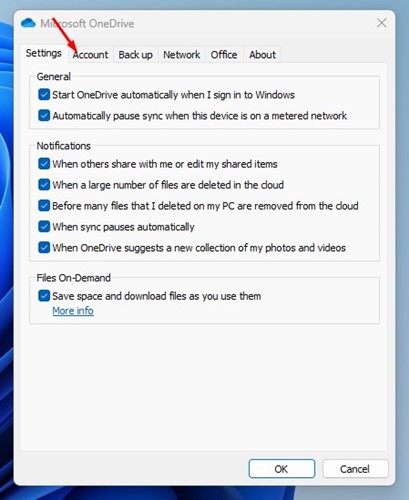
On the Microsoft OneDrive Settings, switch to the Account tab.
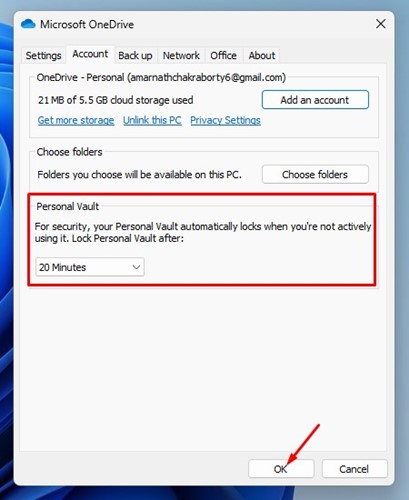
Now, on the Personal Vault, select the time frame to lock Personal Vault automatically. Once done, click on the Ok button.
That’s it! This is how you can set auto lock for Personal Vault on the Microsoft OneDrive app. Also read: How to Force Delete Undeletable Files in Windows 11 So, that’s all about how to set up OneDrive Personal Vault on a Windows computer. It’s a great security feature that every Windows user should use. If you need more help, let us know in the comment box below.
Δ
