Upon all these features, the native split-screen feature seems to be the best one. Let’s admit, when we are working with our computers, we usually have multiple windows open at once. Mostly, we work on a single Window at a time, but there are times when we need to back and forth between the two windows. To switch between two windows, you can either use the keyboard shortcuts or app switchers. However, if you are willing to work in multiple programs simultaneously, then Windows 10: Split Screen mode seems to be the right choice. [alert-announce]Also Read: How to Record PC Gameplay On Windows 10 (Without Any Software)[/alert-announce]
Split Screen in Windows 10 for Multi-Tasking
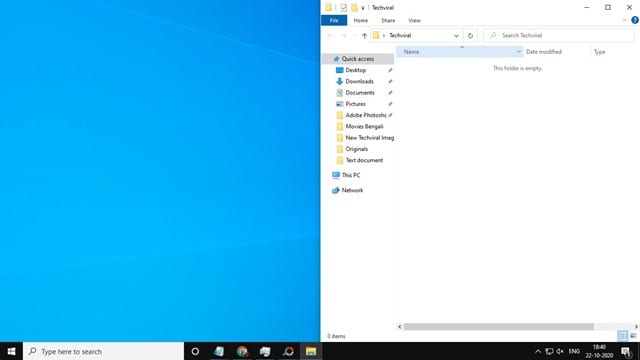
With Split Screen, you can easily split your Windows 10’s screen into two or four sections. Once split, you can operate all Windows at the same time. In this article, we will share a detailed guide on how to use the Split Screen feature of Windows 10. Let’s check out. Step 1. First of all, you need to launch two or three programs to split the screen. Step 2. Once done, you need to define an active window. For that, click on the title bar in the top section of the Window. Hold down the left mouse button and pull the Window to either right or left border of your screen.
Step 3. Now Windows 10 will show you a translucent outline of where the Window will be snapped. If you are ok with the placement, then release the mouse button.
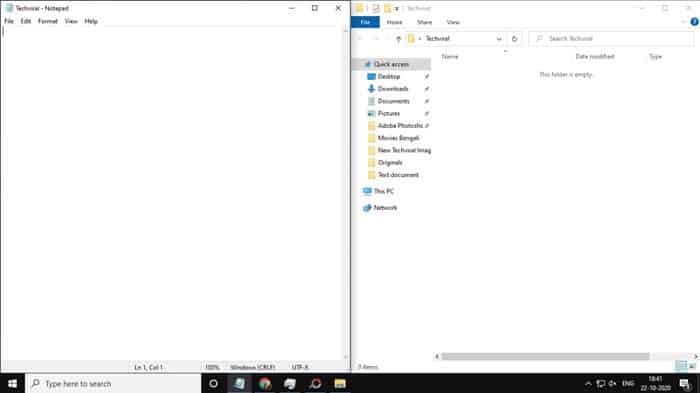
Step 4. The Window will be snapped to either side of the screen. To assign another Window on the opposite side of the screen, click on the other program Window. Hold down the left mouse key and assign it to the opposite side.
Step 5. Now you will see two windows running side by side.
Step 6. If you want to change the Windows’s width, then simply place the mouse cursor between the Windows. You will see the pointer turn into a two-headed arrow. Just adjust the width of the Window.
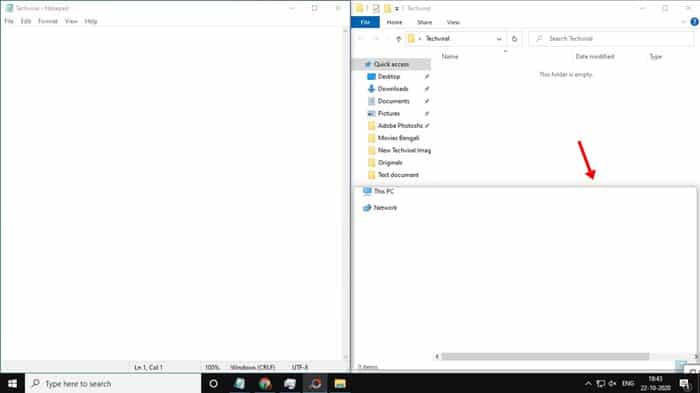
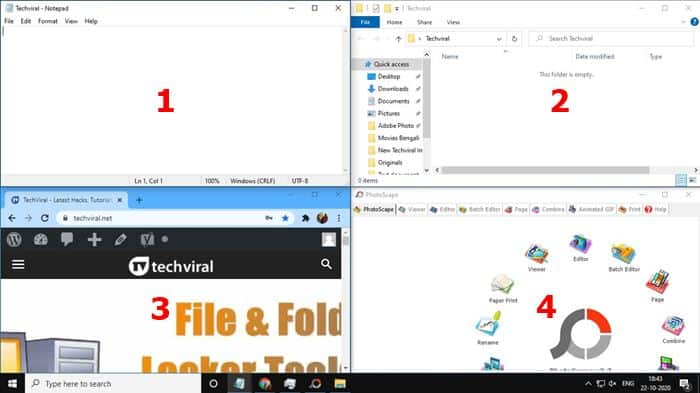
Step 7. If you want to split the screen between three or four programs, you need to drag the program window to the screen’s upper right corner. Next, drag the next window to the lower right corner.
Step 8. Similarly, you can fill the lower left and upper left corner with two program Windows. In this way, you can snap up to four Windows to the screen.
That’s it! You are done. This is how you can split a screen on a Windows 10 computer. So, this article is all about how to split your screen in Windows 10. I hope this article helped you! Please share it with your friends also. If you have any doubts related to this, let us know in the comment box below.
Δ